Release pipelines
Read time: 2 minutes
Last edited: Dec 14, 2024
Release pipelines are only available to customers on select plans. To learn more, read about our pricing. To upgrade your plan, contact Sales.
Overview
This topic explains how you can use release pipelines to standardize and automate the release process for your feature flags. Release pipelines let you move flags through a series of phases, rolling out flags to selected environments and audiences following automated steps. This combination of release pipelines and automated steps is called Release assistant in the LaunchDarkly user interface.
Release strategies
You can set up one or more release strategies for each phase, determining:
- The environment to roll out to
- The audience to roll out to within the environment, including either everyone, or only selected segments
- Whether approvals are required
- Whether to release immediately, or use a guarded rollout to roll out gradually and prevent regressions
When you add a flag to a release pipeline, LaunchDarkly automatically performs the actions you set up as the flag moves through each phase.
JSON, string, and number flags cannot be added to a release pipeline.
View release pipelines
Click on Release assistant in the left nav to view the default release pipeline within a project:
Each project can have up to 20 release pipelines.
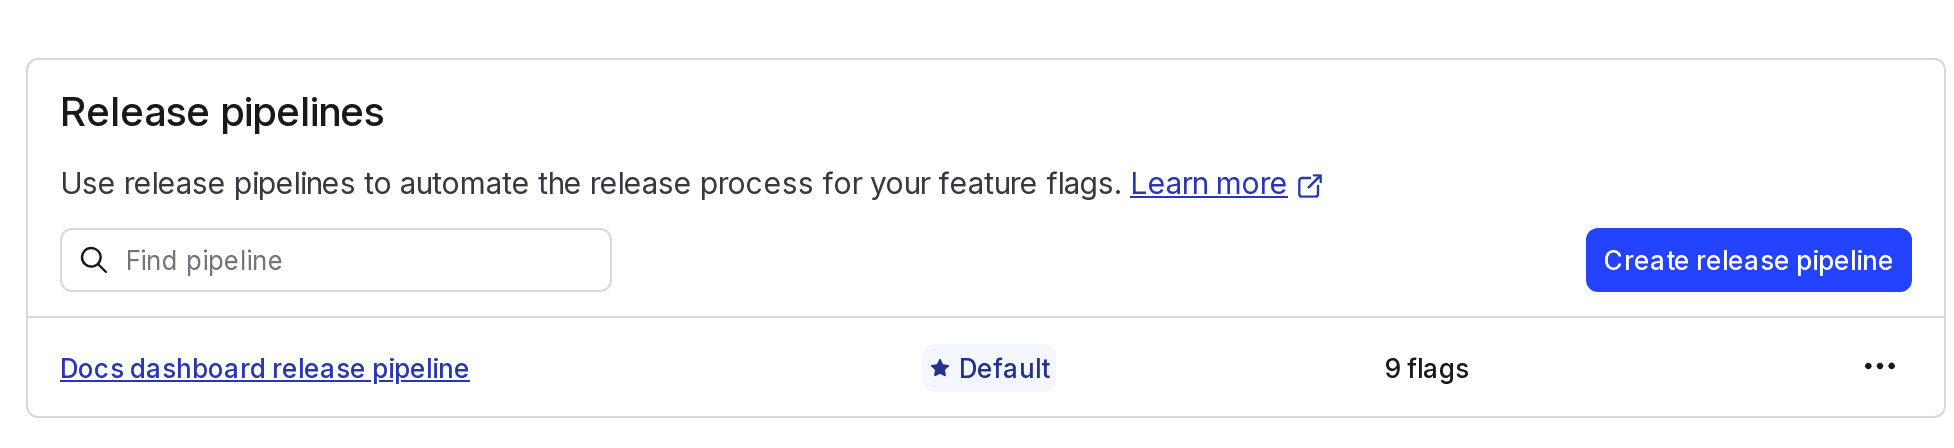
Click the dropdown menu with the release pipeline name and choose Manage release pipelines to view the list of release pipelines within a project:
You can also use the REST API: Get all release pipelines, Get release pipeline by key
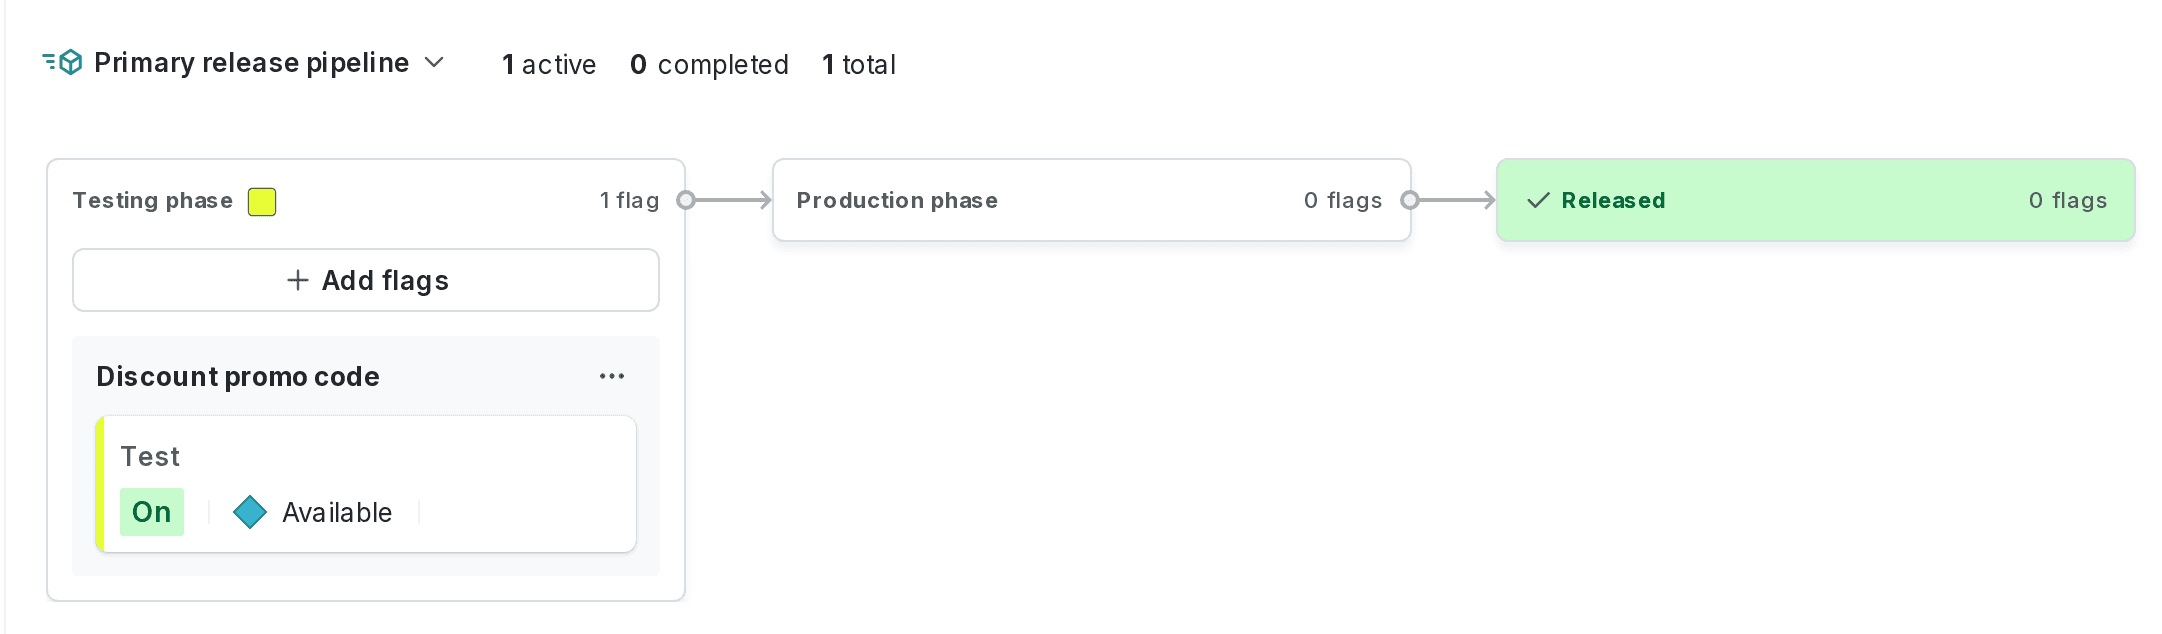
When a flag is included in a release pipeline, you can view each phase in the pipeline in the flag's right sidebar.
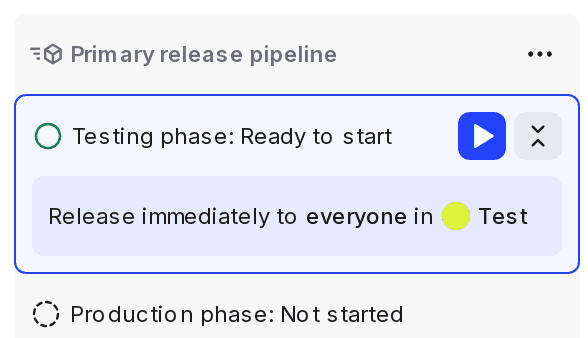
To see the steps required for each phase, click the expand arrows for the phase:
You can also use the REST API: Get release for flag
Release pipelines are one of several options that LaunchDarkly provides to help you release features to production safely and gradually. To learn more about options for releasing features gradually and safely, read Releasing features with LaunchDarkly.
To learn how to create, manage, and delete release pipelines, read the topics in this category: