Using the Datadog events integration
Read time: 4 minutes
Last edited: Dec 14, 2024
The Datadog events integration is only available to customers on select plans. To learn more, read about our pricing. To upgrade your plan, contact Sales.
Overview
This topic explains how to configure and use the LaunchDarkly Datadog events integration.
The Datadog integration lets you set up Datadog Events to receive any activity from LaunchDarkly. When something changes, such as a feature flag updates or a new account member is added to LaunchDarkly, LaunchDarkly sends an event to Datadog. Use this integration to correlate and understand how changes to your features in LaunchDarkly impact your app and infrastructure metrics.
Prerequisites
To connect Datadog to LaunchDarkly, you need an API Key from Datadog.
To generate an API Key:
-
In Datadog, visit the API keys page.
-
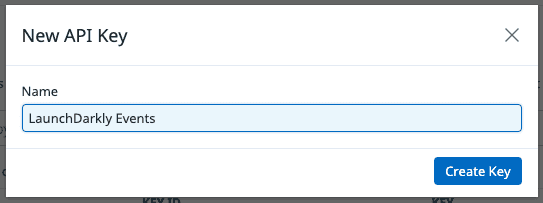
Click New Key. The "New API Key" modal appears. in the "API Keys" section.
-
Give your API Key a human-readable name and click Create Key.
- Click Copy Key to copy the API Key to your clipboard. You will need it to set up the Datadog integration in LaunchDarkly.
Set up the Datadog integration
After you create an API Key in Datadog, you can set up the integration in LaunchDarkly.
To set up the Datadog integration:
- Navigate to the Integrations page and find "Datadog."
- Click Add integration. The "Create Datadog configuration" panel appears.
- (Optional) Give your integration a human-readable Name.
- Enter the Datadog API Key into the Datadog API key field. You created this API Key in the Prerequisites section.
- (Optional) Select your Datadog host URL. Start a Support ticket for assistance if you have a private Datadog instance.
- (Optional) Check the Hide member details checkbox to exclude member names and emails from the events you send to Datadog.
When Hide member details is checked, member-specific events will not be sent to Datadog.
- (Optional) Configure a custom policy to control which events LaunchDarkly sends to Datadog. To learn more, read Filter the events you send to Datadog.
- After reading the Integration Terms and Conditions, check the I have read and agree to the Integration Terms and Conditions checkbox.
- Click Save configuration.
The new integration appears on the Integrations page. It is switched On by default. Events from LaunchDarkly now appear in your Datadog dashboard.
It may take time for changes made in LaunchDarkly to propagate and appear in the Datadog events dashboard depending on Datadog's polling intervals.
To learn how to confirm that you are using the correct Datadog API key, read the related article in the LaunchDarkly Customer Knowledge Base.
Filter the events you send to Datadog
By default, LaunchDarkly sends events to Datadog for changes made to any project, environment, feature flag, and more. If you have a more limited use case for using the integration, or you wish to restrict which data you send to Datadog, you can filter which events LaunchDarkly sends.
To filter events, write a policy using the same syntax as our custom roles feature to filter the events sent to Datadog.
For more information about writing policies, read Policies in custom roles.
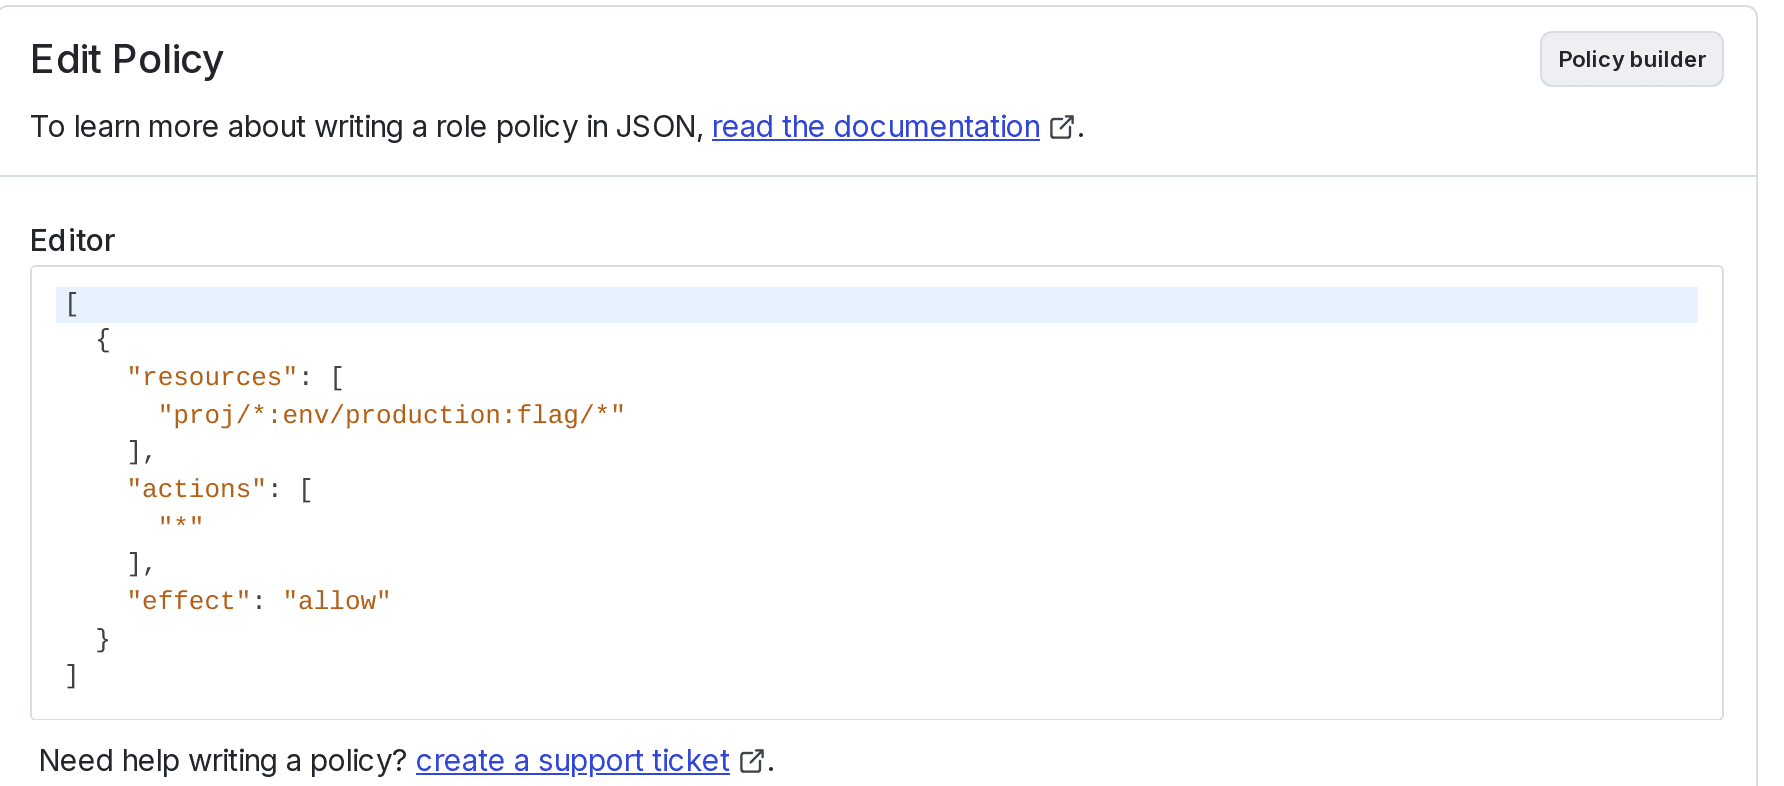
For example, if you only want to receive an event when a change is made to one of the feature flags in your testing environment, you can add the following policy to your events stream:
To add a custom filter:
- Navigate to the Integrations page and find the integration you wish to modify.
- Click Edit integration configuration. The "Edit Datadog configuration" panel appears.

- Click Advanced editor. The Advanced editor appears.
- Enter your custom policy.
- Click Save configuration.
- Verify that LaunchDarkly is sending a customized set of events by viewing the events in your Datadog dashboard.
Disable the Datadog integration
If you wish to disable the Datadog integration, there are two methods to do so:
- Disable the integration to pause the flow of events to Datadog, but leaves the connection between Datadog and LaunchDarkly intact.
- Delete the integration to cease all event export and break the connection between Datadog and LaunchDarkly.
To temporarily disable the Datadog integration:
- Navigate to the Integrations page.
- Find the Datadog integration you wish to disable.
- Click the Edit integration configuration button. The "Edit Datadog configuration" panel appears.
- Toggle to turn the integration Off.
To permanently delete the Datadog integration:
- Navigate to the Integrations page.
- Find the integration you wish to modify and click Edit integration configuration. The "Edit Datadog configuration" panel appears.
- Click Delete in the "Delete configuration" section. A confirmation dialog appears.
- Click Delete to confirm.