Multi-factor authentication
Read time: 4 minutes
Last edited: Oct 02, 2024
Overview
This topic explains how to set up and use multi-factor authentication to improve the security of your LaunchDarkly account.
About multi-factor authentication
Multi-factor authentication (MFA) requires you to use a second verification step in addition to your password to log in to a service, app, or website.
In LaunchDarkly, you can enable MFA for your individual account, which requires you to enter a verification passcode from a free authenticator application you install on a mobile device.
Administrators can also require all newly invited account members on the team to enable MFA when they first log in.
We strongly recommend that all LaunchDarkly account members enable MFA for their account, and that administrators enforce MFA for their entire organization.
Set up MFA
Before you begin, install a compatible authenticator application on your mobile device. We recommend Google Authenticator, but any TOTP authenticator application should work well.
To enable MFA for your account:
- Click your member icon in the left sidenav. A menu appears.
- Click Personal settings. Your profile page appears.
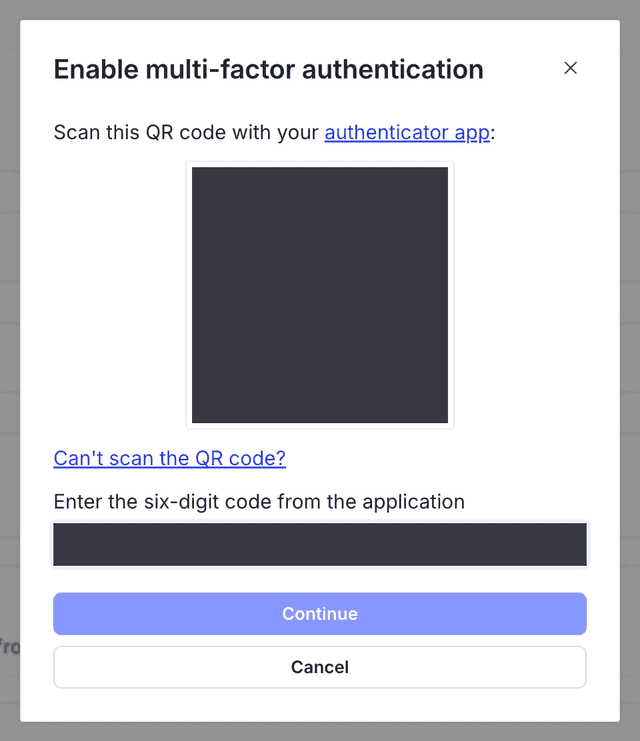
- Click Enable MFA. A dialog with a QR code appears.
- Launch the authenticator application on your mobile device and hold the camera up to your screen to scan the code. When the QR code scans, a six-digit code appears on your mobile device.
- Enter the six-digit code from your authenticator application in the text box in LaunchDarkly:

- Click Continue. A confirmation dialog with recovery codes appears. Save these recovery codes in a secure location in case your MFA device is lost or stolen.
- Click Complete.
If you lose access to the mobile device with your MFA settings, you can use one of these recovery codes to access your account and reset your MFA settings.
Store your recovery codes in a safe location other than your mobile device. If you lose your recovery codes and cannot access your account, you must contact a LaunchDarkly administrator for help. They can send you a new recovery code.
Log in with MFA
When MFA is enabled, you're required to enter a code from your authenticator app each time you log in to LaunchDarkly.
The first step of the login flow doesn't change. You must enter your email address and password. After your credentials are verified, an MFA login screen appears.
Enter a valid passcode from your authenticator app within five minutes. If you don't do this quickly enough, you must re-enter your password and a new code.
Use your recovery codes
If you've lost access to your device or your authenticator application, click the link on the MFA login screen to log in with one of your recovery codes.
When you use a recovery code, you'll be sent to your profile page. When this happens, reset your MFA settings and generate new recovery codes immediately.
Once you've logged in with a recovery code, reset your MFA settings immediately. You can only use recovery codes once, so every time you use one, you should generate new recovery codes and store them in a safe location as soon as possible. If you've lost your device and do not have access to any of your recovery codes, contact an administrator for your organization's LaunchDarkly account. Your administrator can send you an email with a new recovery code.
Account administration for MFA
Editing MFA settings is only accessible if you're a LaunchDarkly Owner or Admin, or have a custom role that allows the updateRequireMfa action. If you have the appropriate permissions you can require all newly invited account members to enable MFA. To learn more, read About member roles and Account actions.
To require multi-factor authentication:
- Click the gear icon in the left sidenav to view Organization settings.
- Click Security.
- In the "Multi-factor authentication" section, check the Require multi-factor authentication for new members checkbox.
- Click Save.
When this setting is enabled, any new account members you invite must set up MFA for their account when they first log in. In addition, if this setting is enabled, account members cannot disable MFA for their account.
Admins can also view whether account members have MFA enabled on the individual member's Settings page. If a member does not have MFA enabled, admins can send an email requesting that the account member enable MFA.
Finally, if an account member with MFA enabled loses their device and no longer has access to their recovery code, administrators can send them an email with a new recovery code.