Using tags
Read time: 2 minutes
Last edited: Jan 08, 2025
Overview
This topic explains how to use tags with custom roles to control who has access to certain resources in LaunchDarkly.
Tags are customizable labels that help you categorize certain LaunchDarkly resources including flags, segments, metrics, projects, and environments. To learn how to add tags to resources, read Tags.
Tags in custom role policies
You can allow or deny account members access to resources with specific tags.
Below are examples of allowing and denying access to resources with specific tags.
Allow access to resources with multiple tags
The below statement allows a member with this role to perform all actions at the flag level for flags tagged tag1 and tag2:
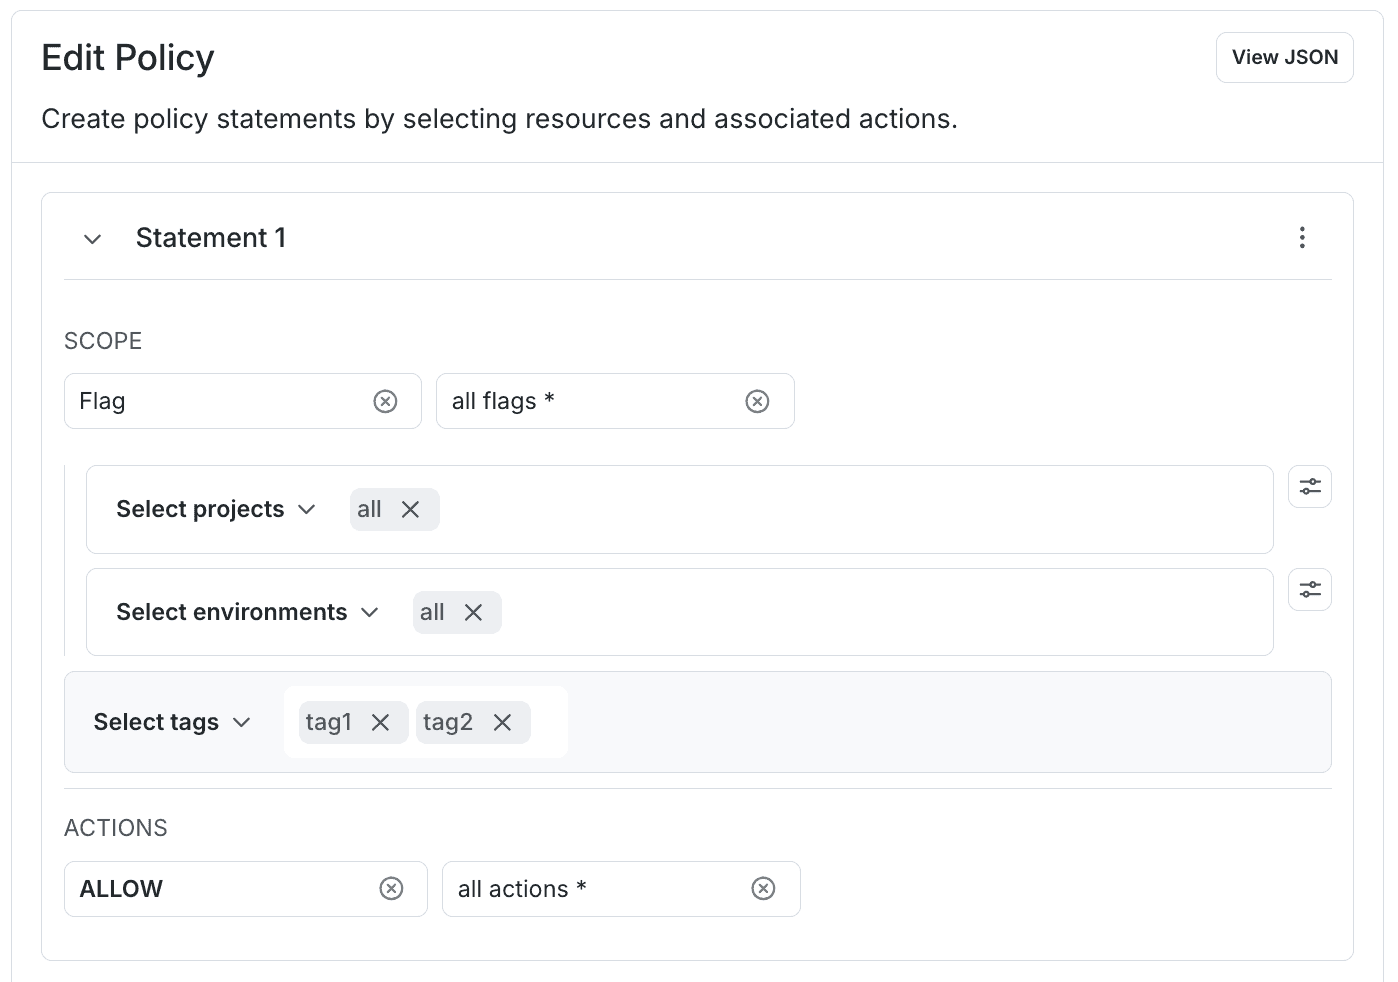
Here's how to specify that in the advanced editor:
Allow access to resources with one or more tags
You can also separate multiple tags for a resource with statements to create an "or" condition.
In the example below, the two statements allow member access to flags tagged either tag1 or tag2:

Here's how to specify that in the advanced editor:
Deny access to resources with one or more tags
The following example gives a member access to all flags except those tagged either tag1 or tag2:
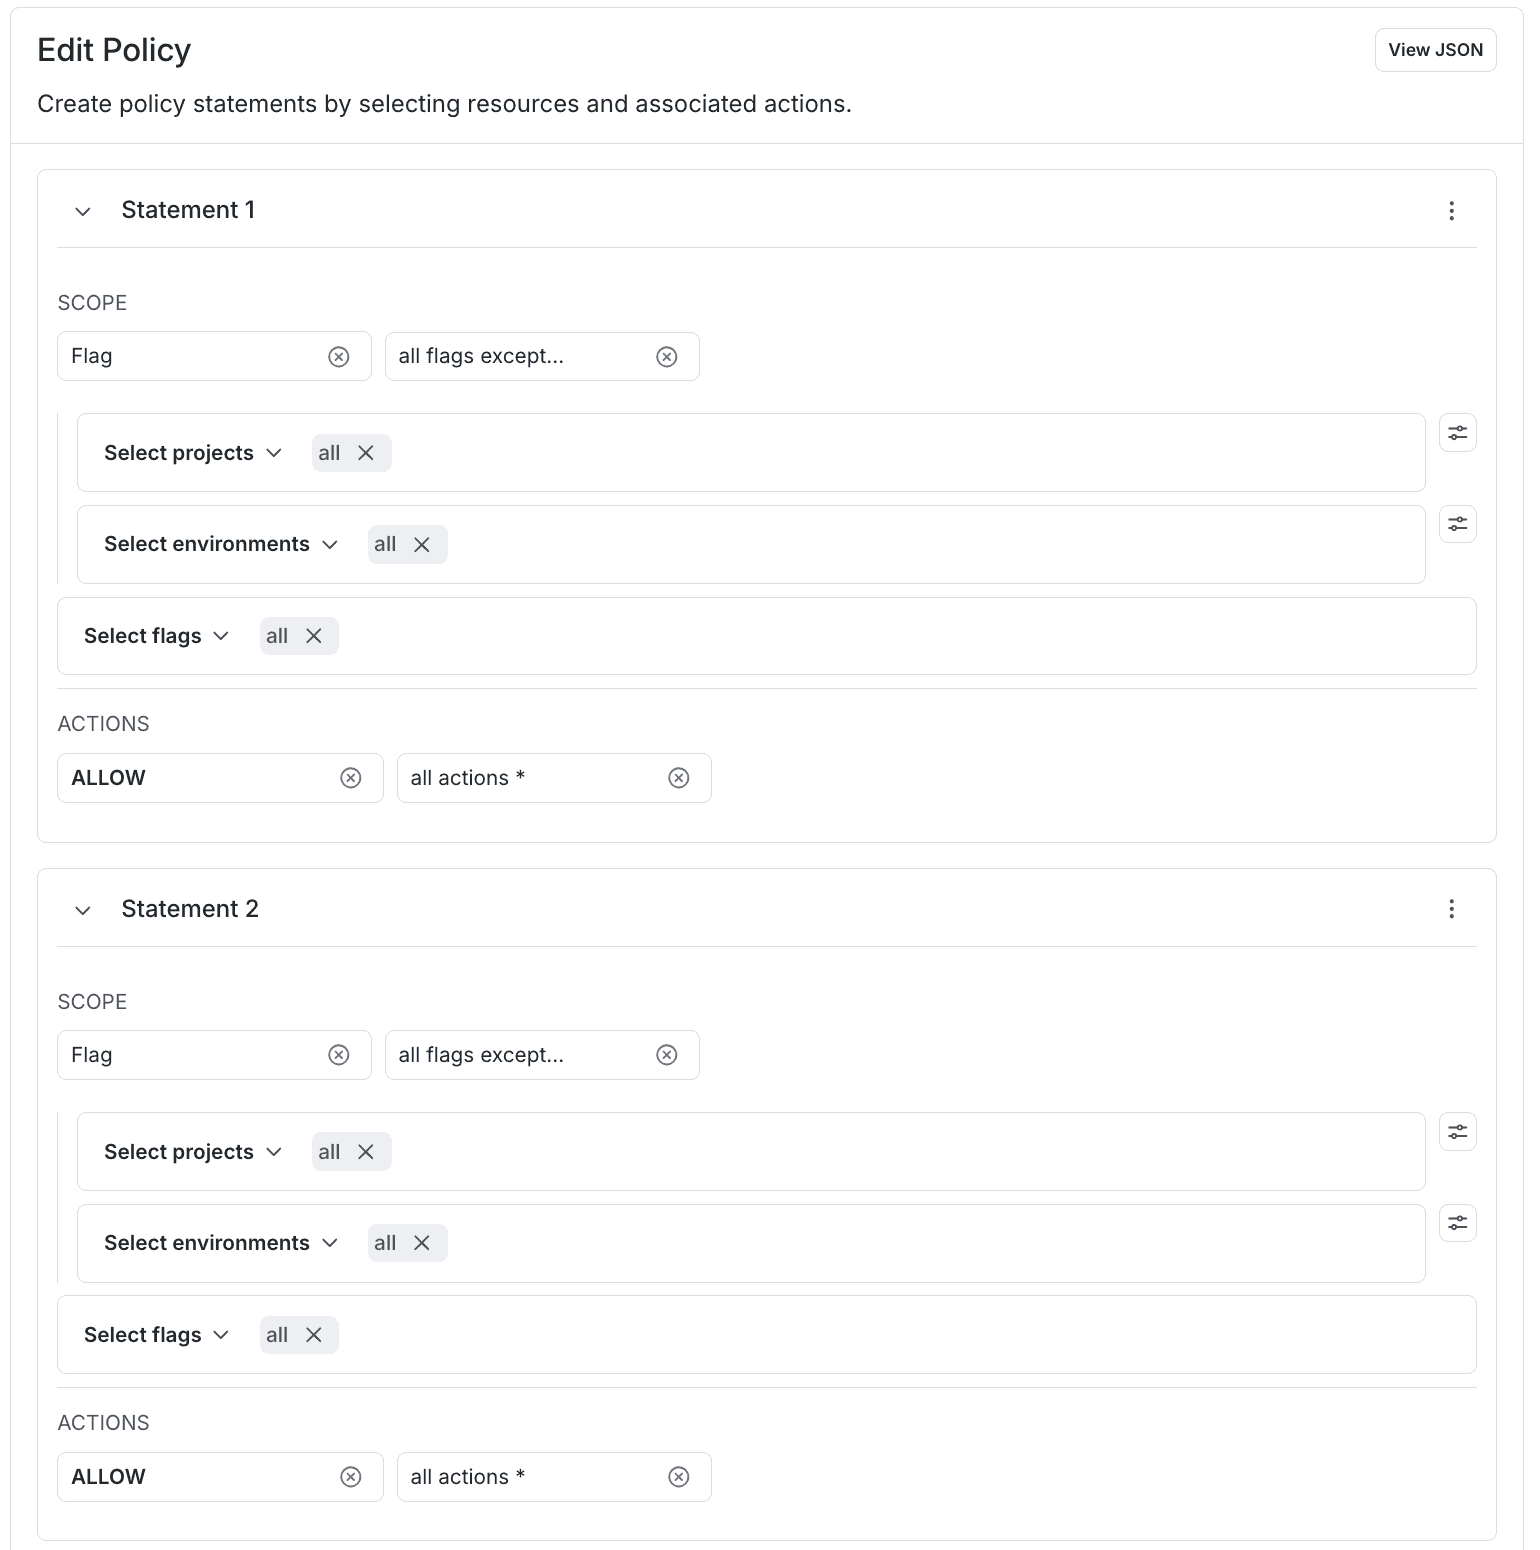
Here's how to specify that in the advanced editor:
For more custom role policy examples, read Example policies and templates.